We’ve spent over 10 years thinking about replacing the floor….a significant undertaking. There are many great videos and tutorials online about how to go about it, so we knew what was in store. The main concern was what state we would find the chassis in.
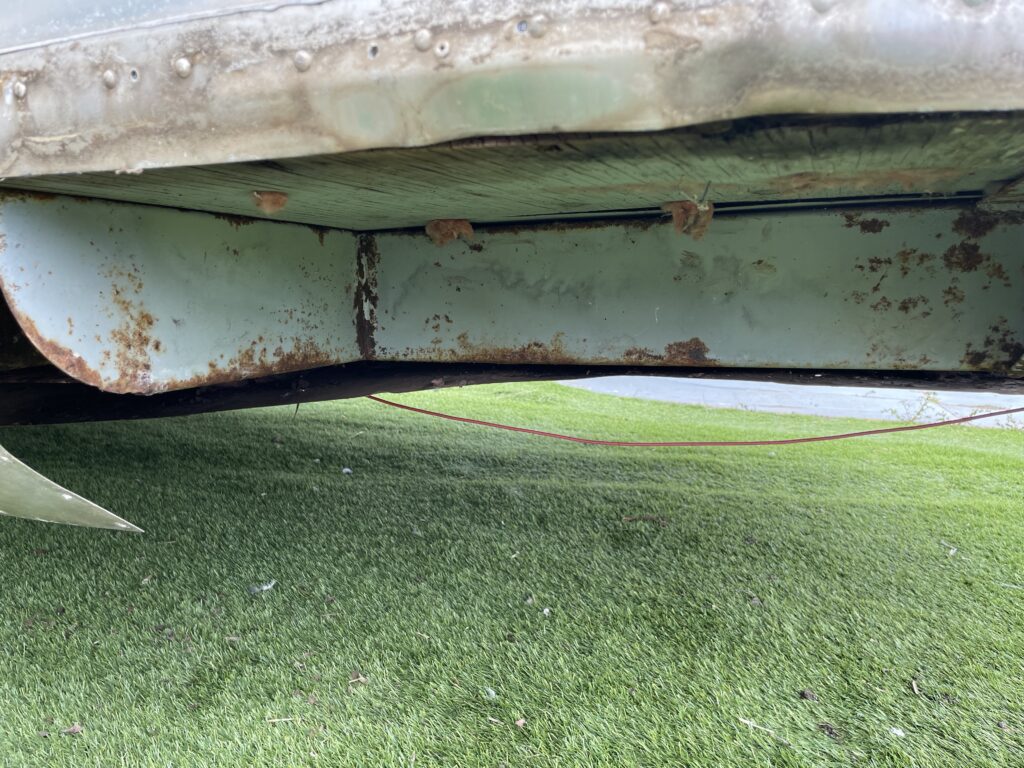
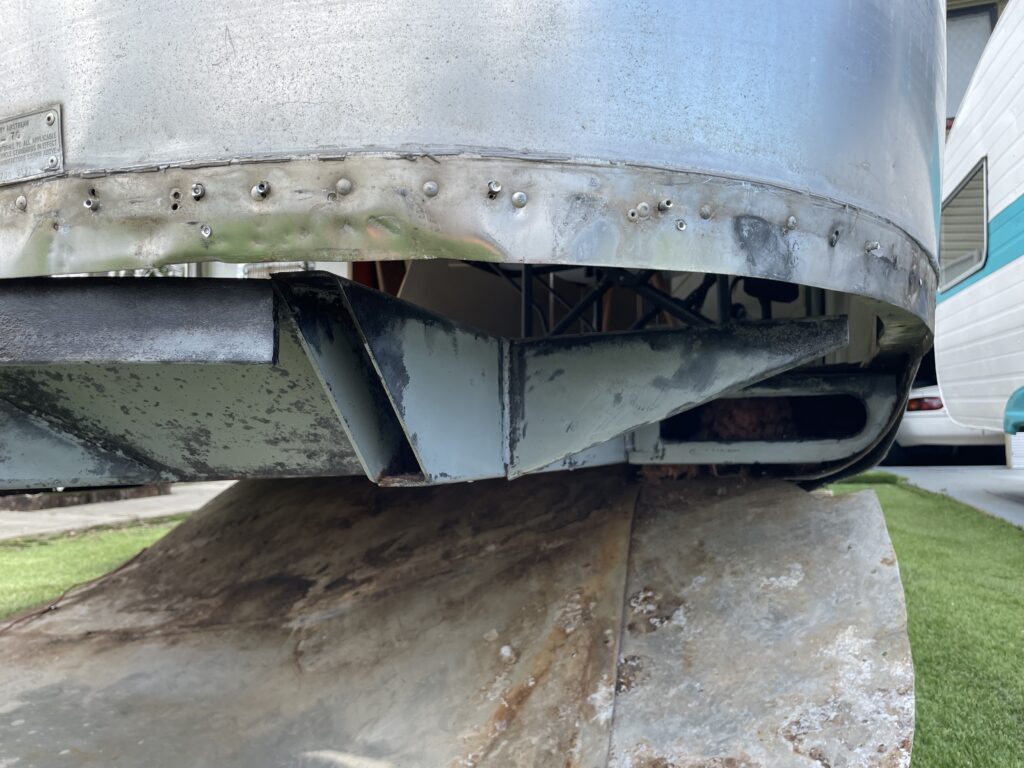
Airstream completely wraps the frame underneath the trailer with an aluminium belly wrap. That meant there were very few places we could see the state of the chassis. Some of the online photos and videos we’d seen of other airstreams was a horror story of steel corrosion, broken outriggers and more, needing repair, welding or even an entire new chassis.
So the day we removed the banana wraps (the curved bottom end caps) and the front belly pan to being the floor replacement was a big day.
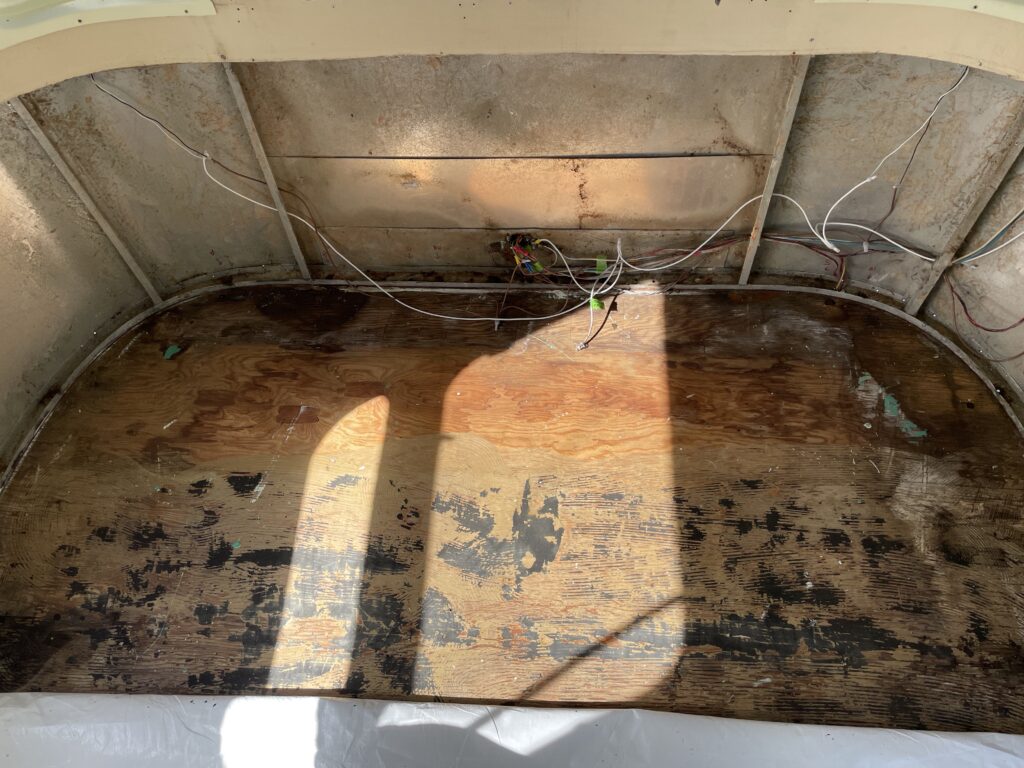
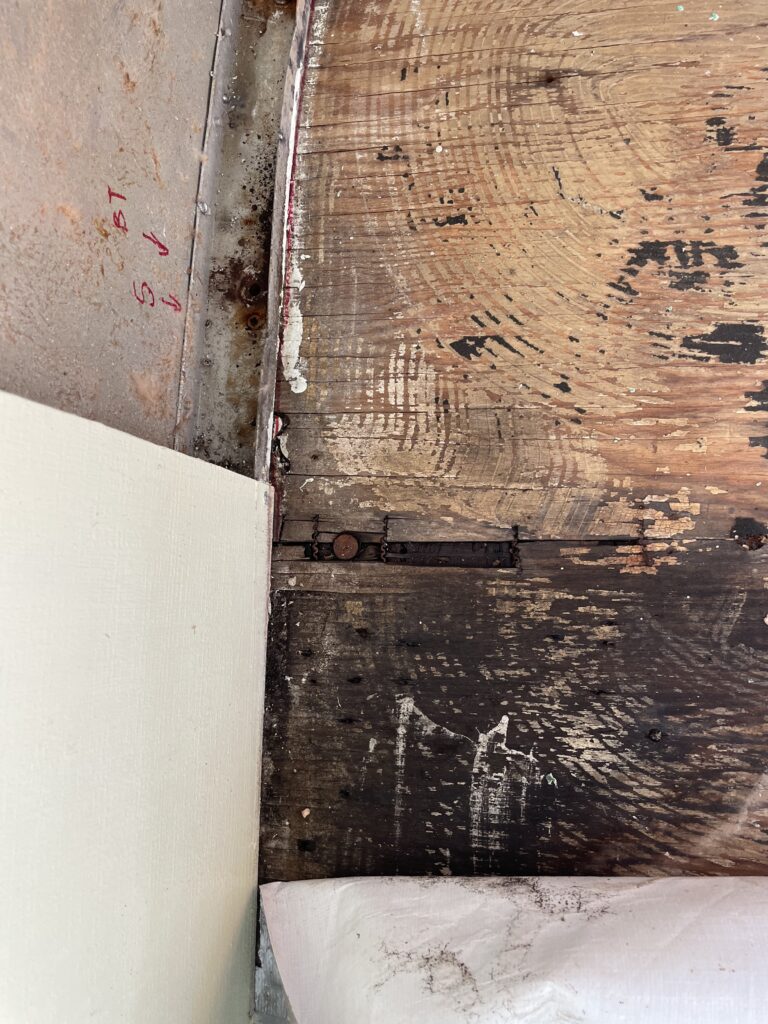
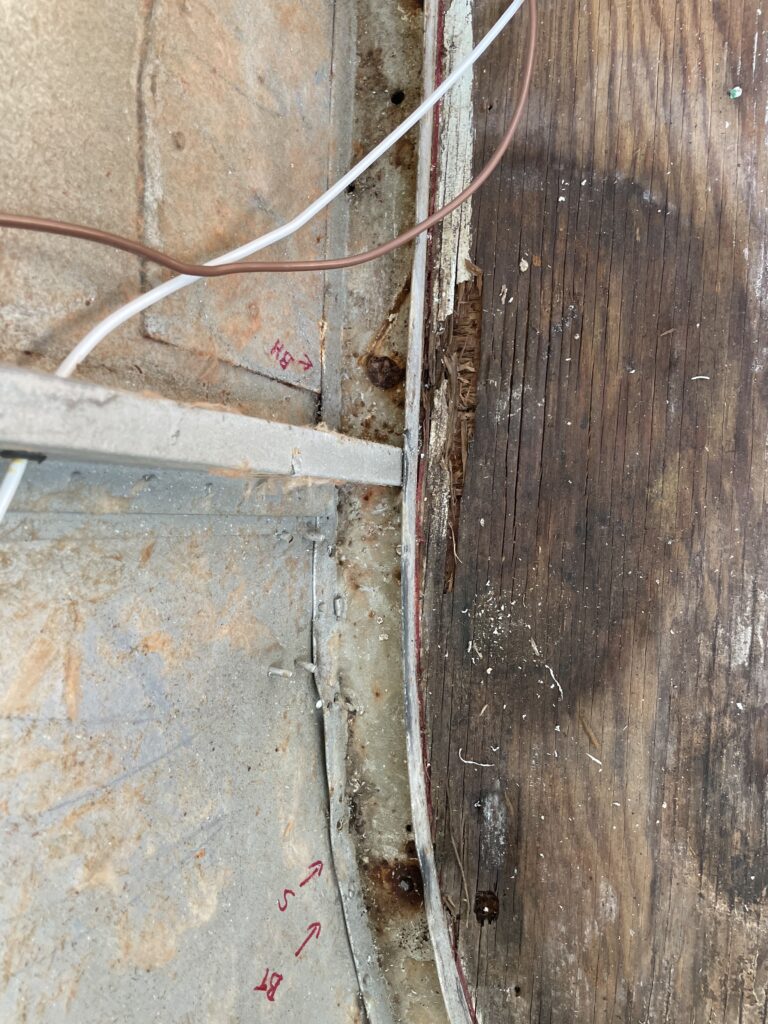
We were thrilled to find only surface rust, no holes or broken outriggers. On average, 6 desiccated rodent carcasses per section of floor we’ve removed, but so far it’s all going swimmingly.
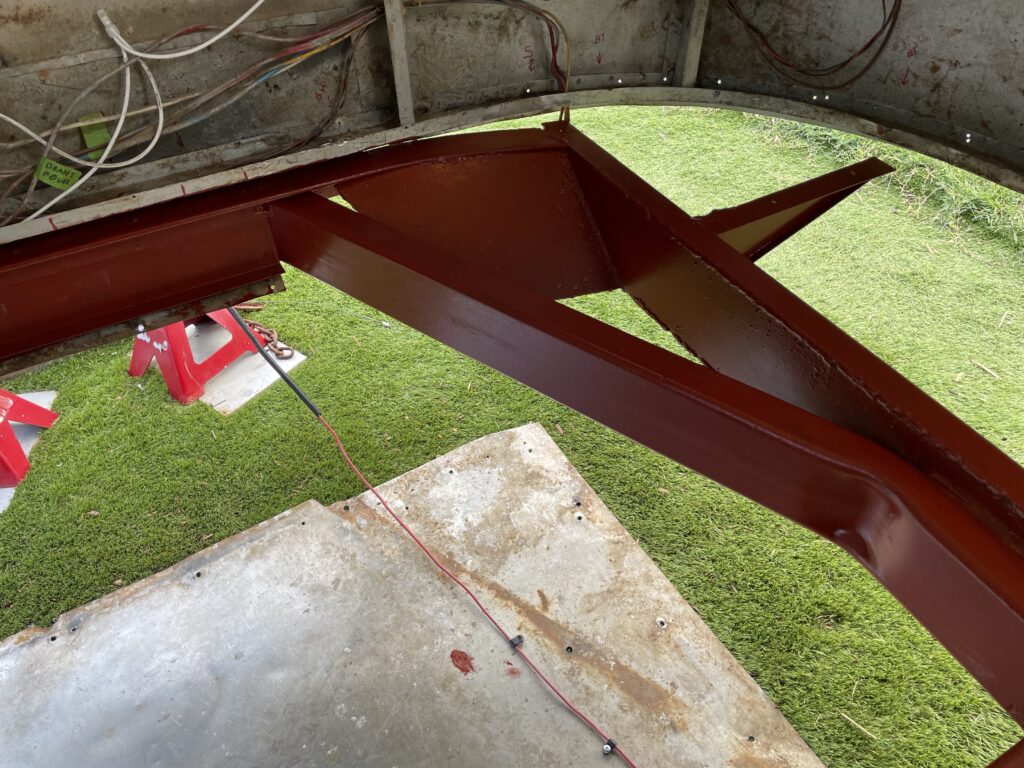
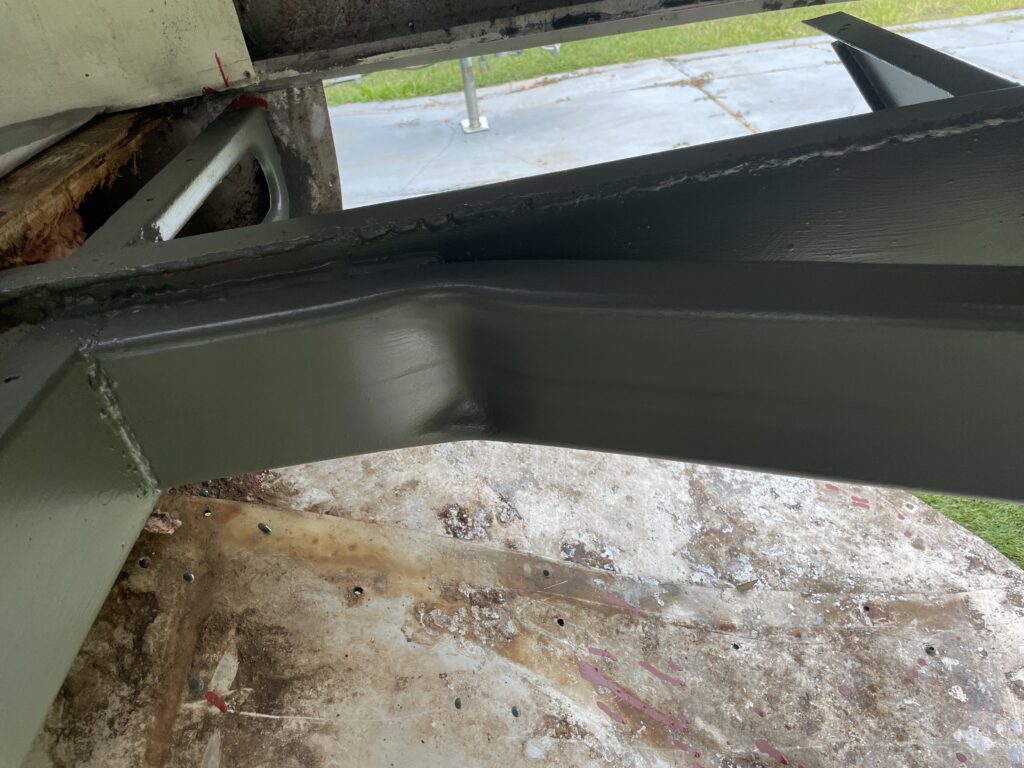
We are only replacing one section at a time – because the whole upper cabin is bolted to the frame through the floor. By working in sections it feels more manageable, but also the frame can’t move or spring away.
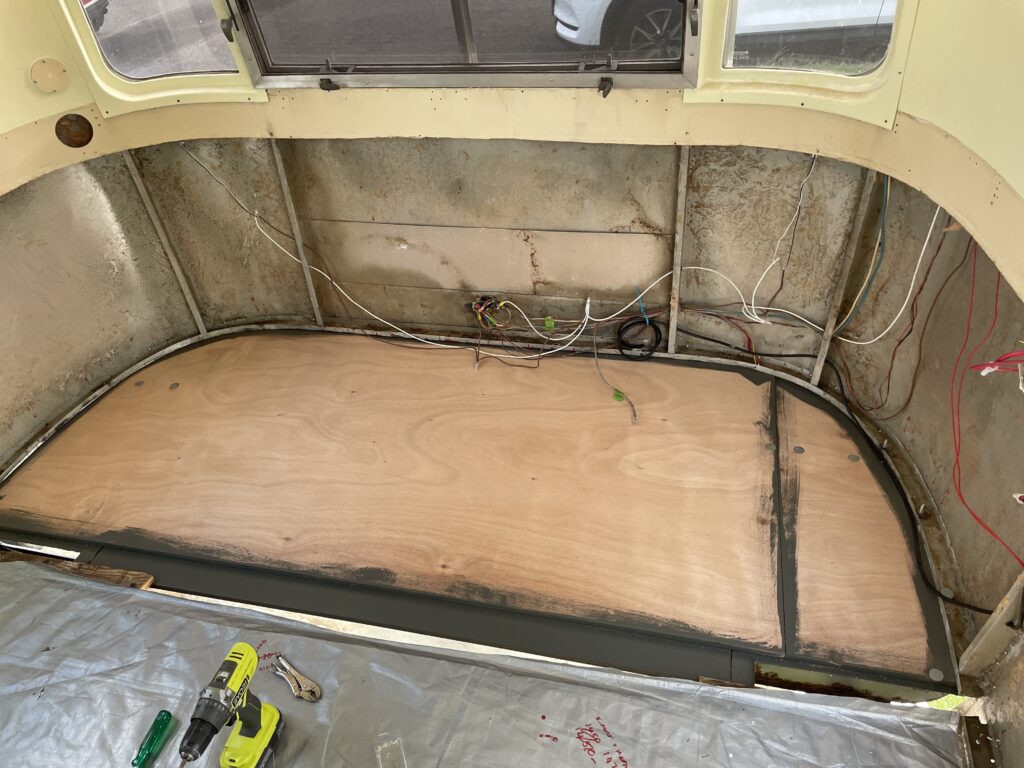
Some of the floor ply is in reasonable condition, but it’s hard to really assess what is going on under the edges of the frame. And even plywood that is not rotten tends to feel spongy after this many years. We’ve decided to replace the whole floor with high quality, marine grade Gaboon plywood. It’s lightweight and lovely to work with. This particular brand uses Gaboon in the core as well as facing layers, keeping the weight down and quality up.
Megan was in the US when we started the project, so we ordered special Elevator bolts that Airstream uses to attach the floor for her to bring back. We are going to need a lot of them…