At times working on Chickie felt like a giant game of Jenga. Carefully removing and replacing one piece at a time, lest it all fall to pieces.
Replacing the ceiling was just the same.
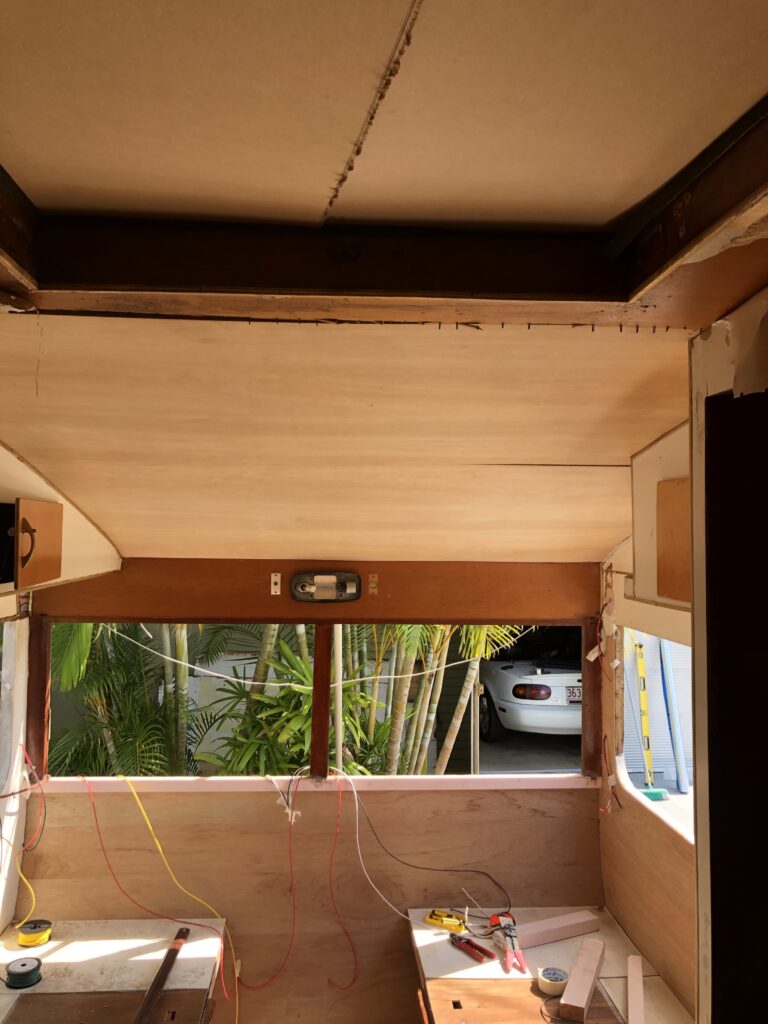
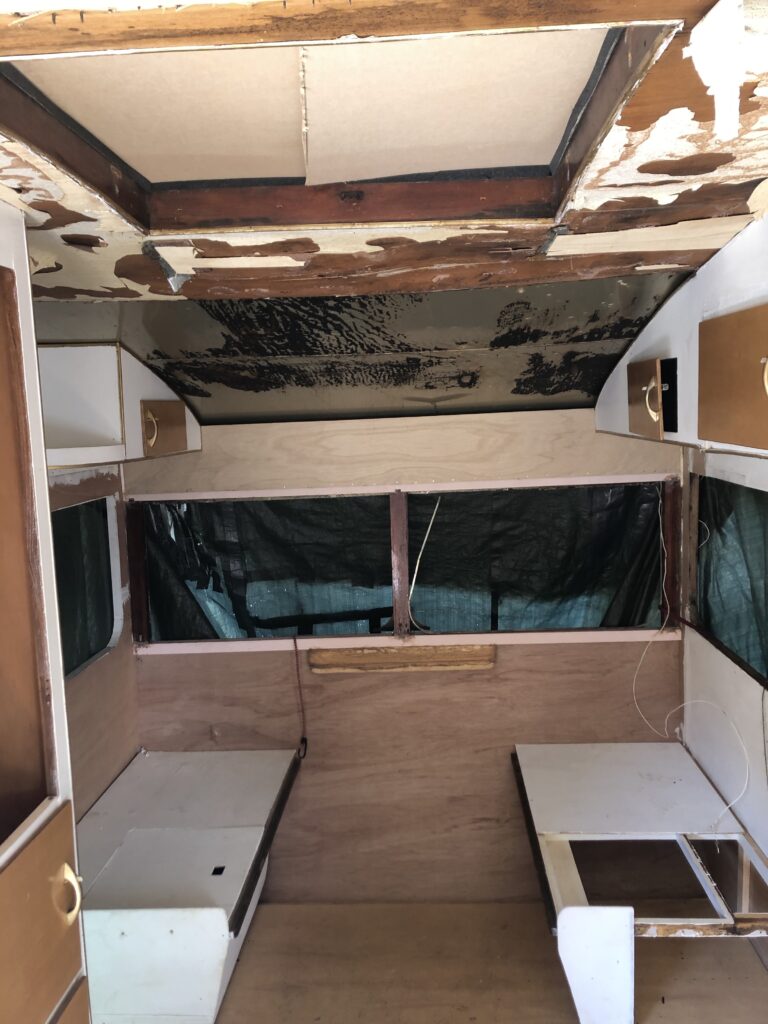
We knew the centre plywood panel was rotten, and the front panel was showing signs of delimitation.
We’d hoped to save the other sections, but as we detached the aluminium roof our hearts sank. While the roof stringers running from front to back were solid, the plywood on the edges was rotten.
There was nothing for it but a new ceiling all through.
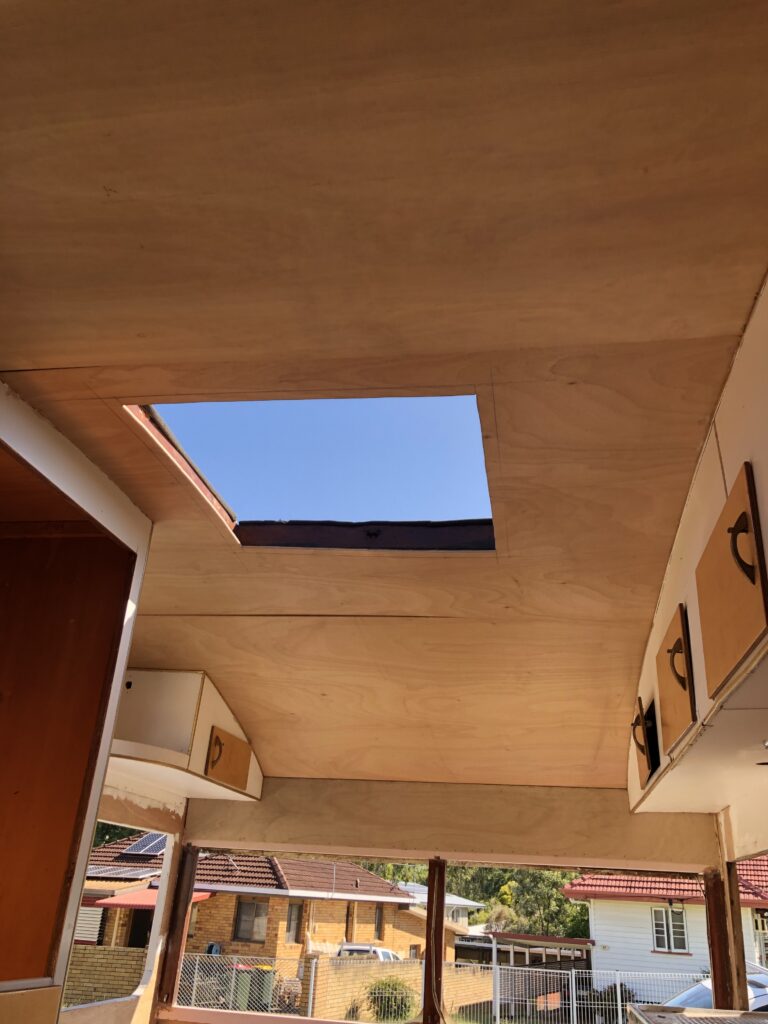
I was worried that if we took the aluminium sheeting off the roof, we’d find it hard to get back up there. And with power lines overhead, any work above the walls felt high risk.
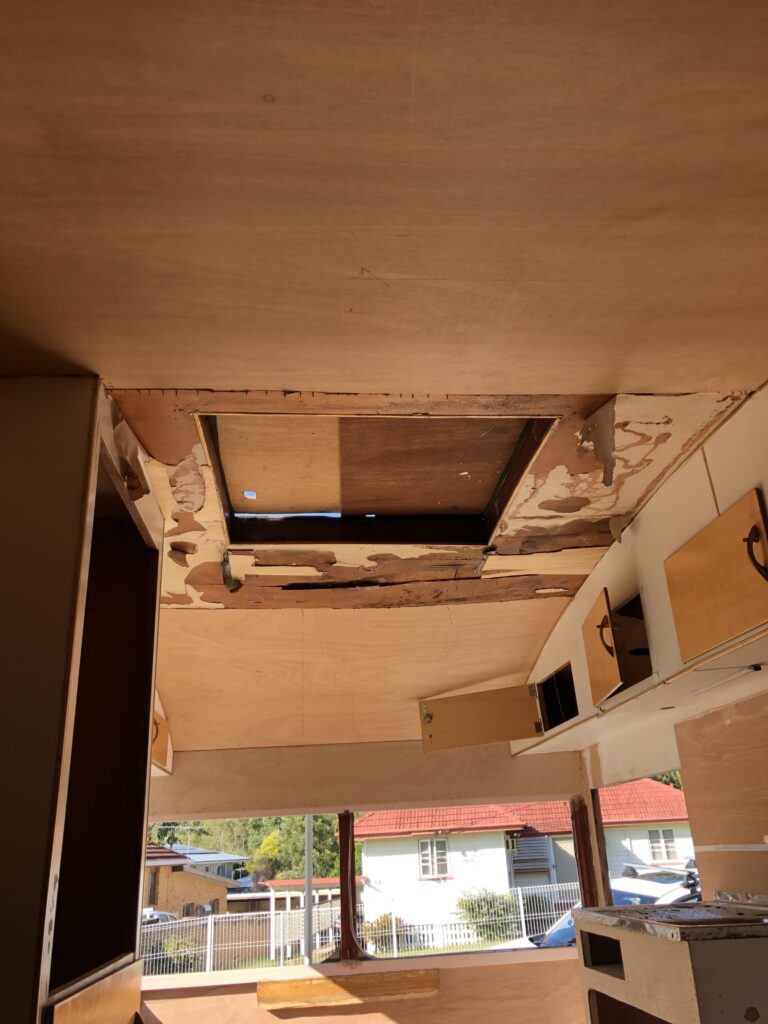
So we detached the roof aluminium but left it in place and started to pull out and replace the ceiling panels one by one.
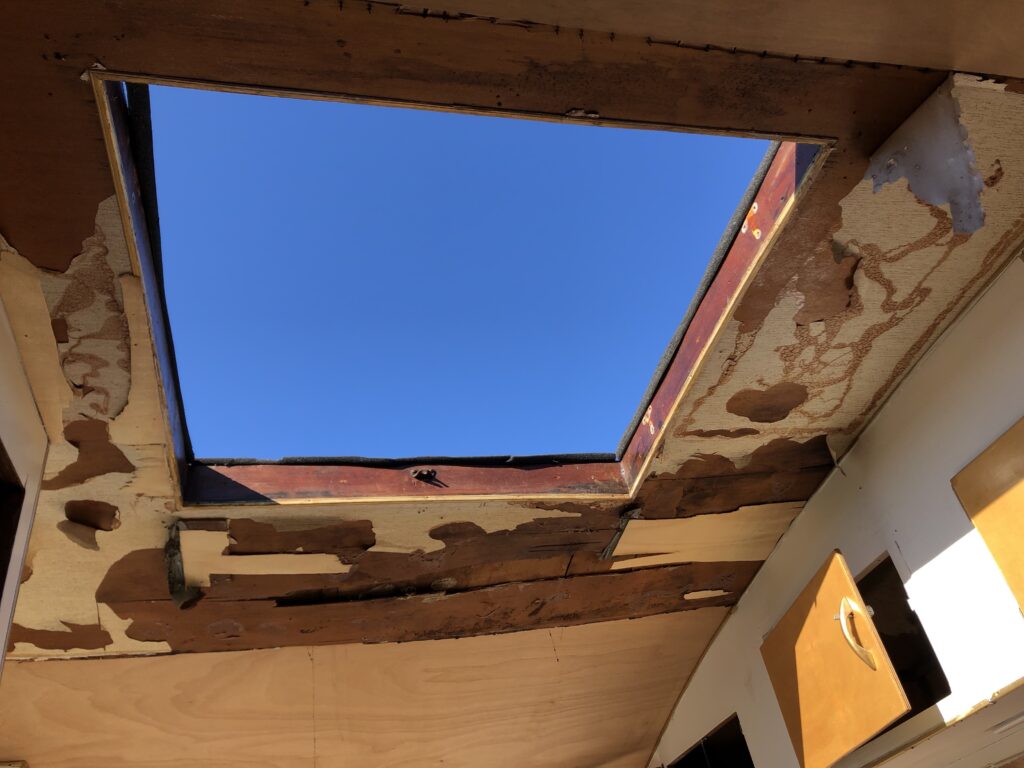
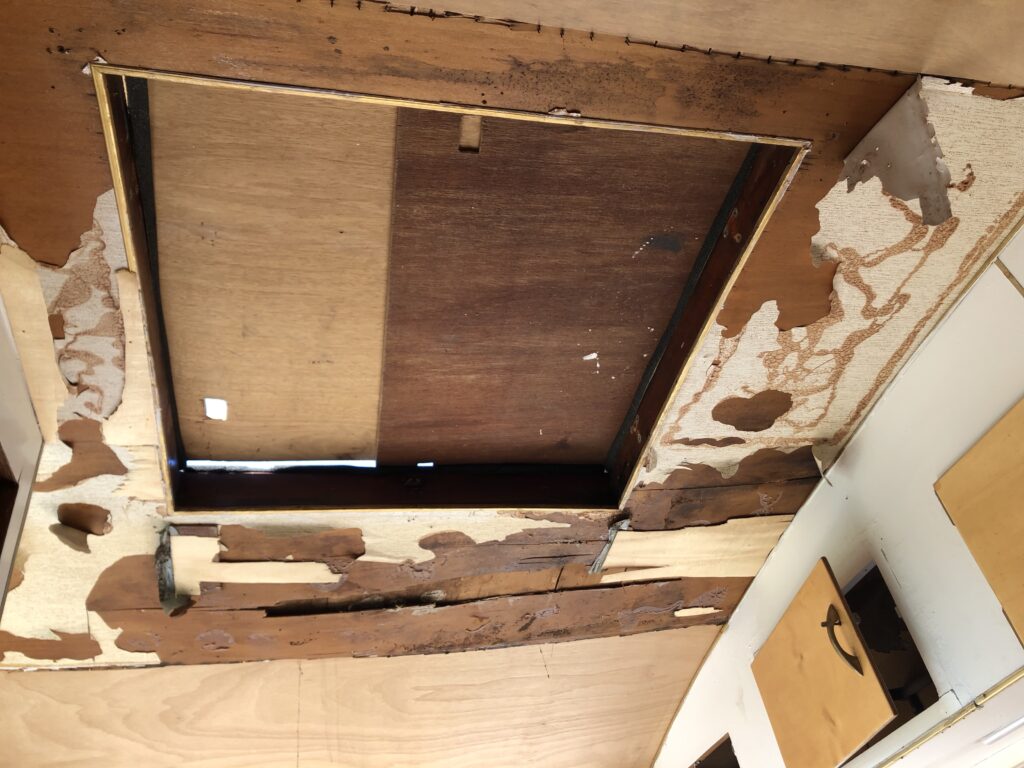
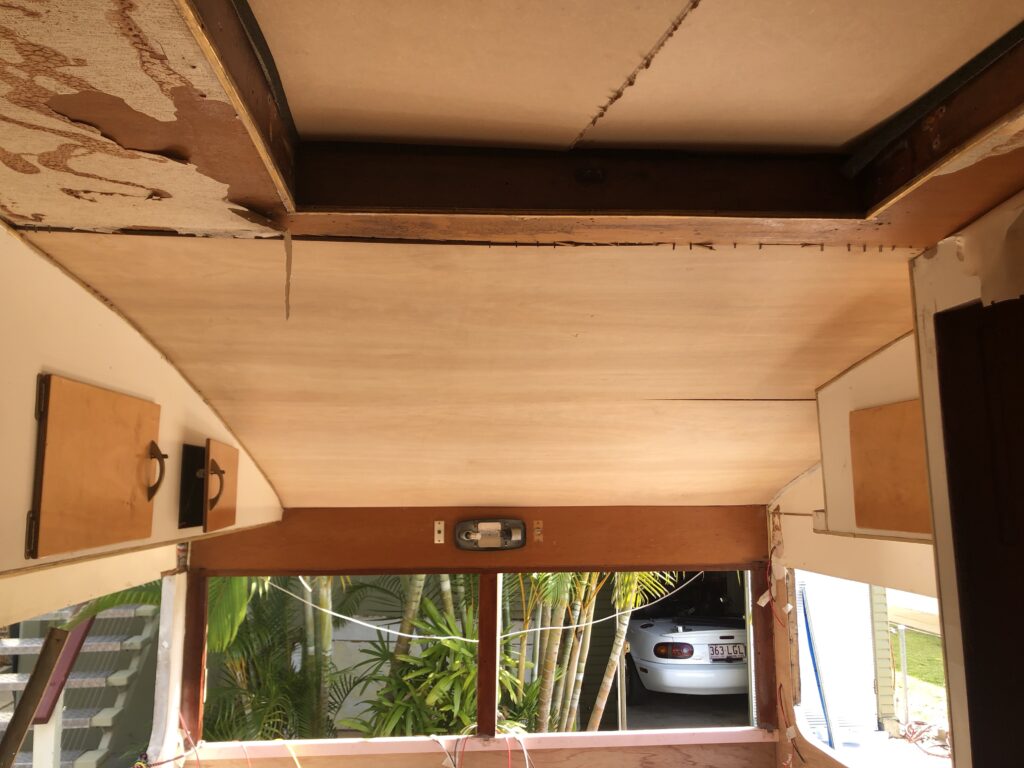
It was definitely not the easiest way to replace the ceiling. The original plywood had cover strips over the join which were stapled through from above.
We couldn’t do that with the roof aluminium still in place, so had to come up with a way to prop from underneath and nail it on.
Without a shed to work in though, we had no choice, and we got there in the end.